Introducing the Privileged Identity Management Tools PowerShell module (PIMTools)
Introduction
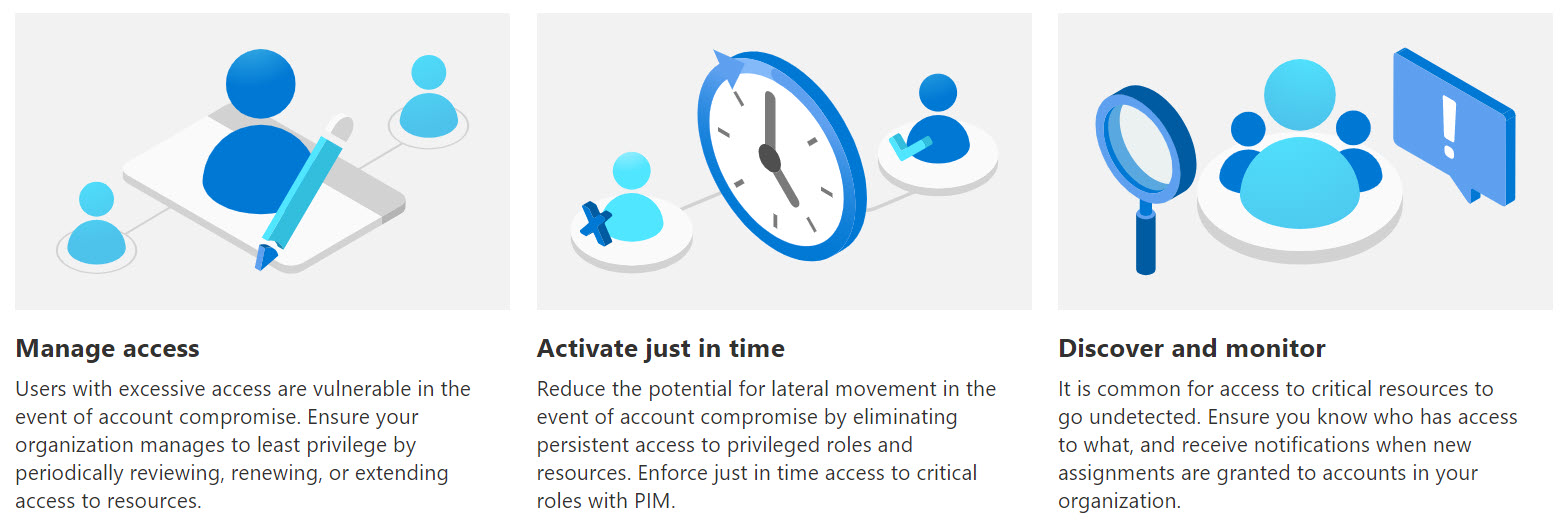
Privileged Identity Management (PIM) is a service in Azure Active Directory (Azure AD) that enables you to manage, control, and monitor access to important resources in your organization. These resources include resources in Azure AD, Azure, and other Microsoft Online Services such as Microsoft 365 or Microsoft Intune.

The feature provides just-in-time privileged access to Azure AD and Azure resources, and it can be customized per role to for example require approval by designated approvers as well as enforce multi-factor authentication when activating a role.
More information is available in the product documentation.
If a user has been made eligible for a role, that means they can activate the role when they need to perform privileged tasks. The role can be either a role in Azure AD or a Role Based Access Control (RBAC) role in Azure on the Management Group, Subscription or Resource Group level.
The manual way to activate an eligible role is to:
- Sign in to the Azure portal
- Open Azure AD Privileged Identity Management
- Select My roles, in the Azure resource or Azure AD roles list
- Find the role you want to activate
- Select Activate to open the Activate page
- In the Reason box, enter the reason for the activation request
- Select Activate.
A common activation time is 8 hours, meaning the role should be active for the duration of the working hours. This means the steps outlined above needs to be performed manually every day.
The Privileged Identity Management Tools PowerShell module (PIMTools)
PIMTools is a PowerShell module with commands for working with Azure AD Privileged Identity Management, initally commands for activating Azure AD and Azure resource roles.
Getting started
1 - Start Windows PowerShell
Simply press the Start button and search for “PowerShell”. You will likely get two hits: “Windows PowerShell” and “Windows PowerShell ISE”. For more modern console and editor features you may also want to check out Windows Terminal and Visual Studio Code.
2 - Allow PowerShell scripts to be executed
PowerShell has a feature called “execution policy” which by default is set to “Restricted”, meaning that no scripts is allowed to run. In the context of this article, I will recommend to set the execution policy to “RemoteSigned”. This means that you can run scripts locally without having to sign it with a digital signature.
# Check current settings
Get-ExecutionPolicy

# If the execution policy is set to Restricted, run the following command to configure the execution policy to RemoteSigned
Set-ExecutionPolicy RemoteSigned

# Make sure you start PowerShell with "Run As Administrator" before running the command. Alternatively, run the following if you do not have Administrator privileges:
Set-ExecutionPolicy RemoteSigned -Scope CurrentUser
3 - Install the PIMTools module
The module is available from the PowerShell Gallery, meaning we can install it by simply running the following:
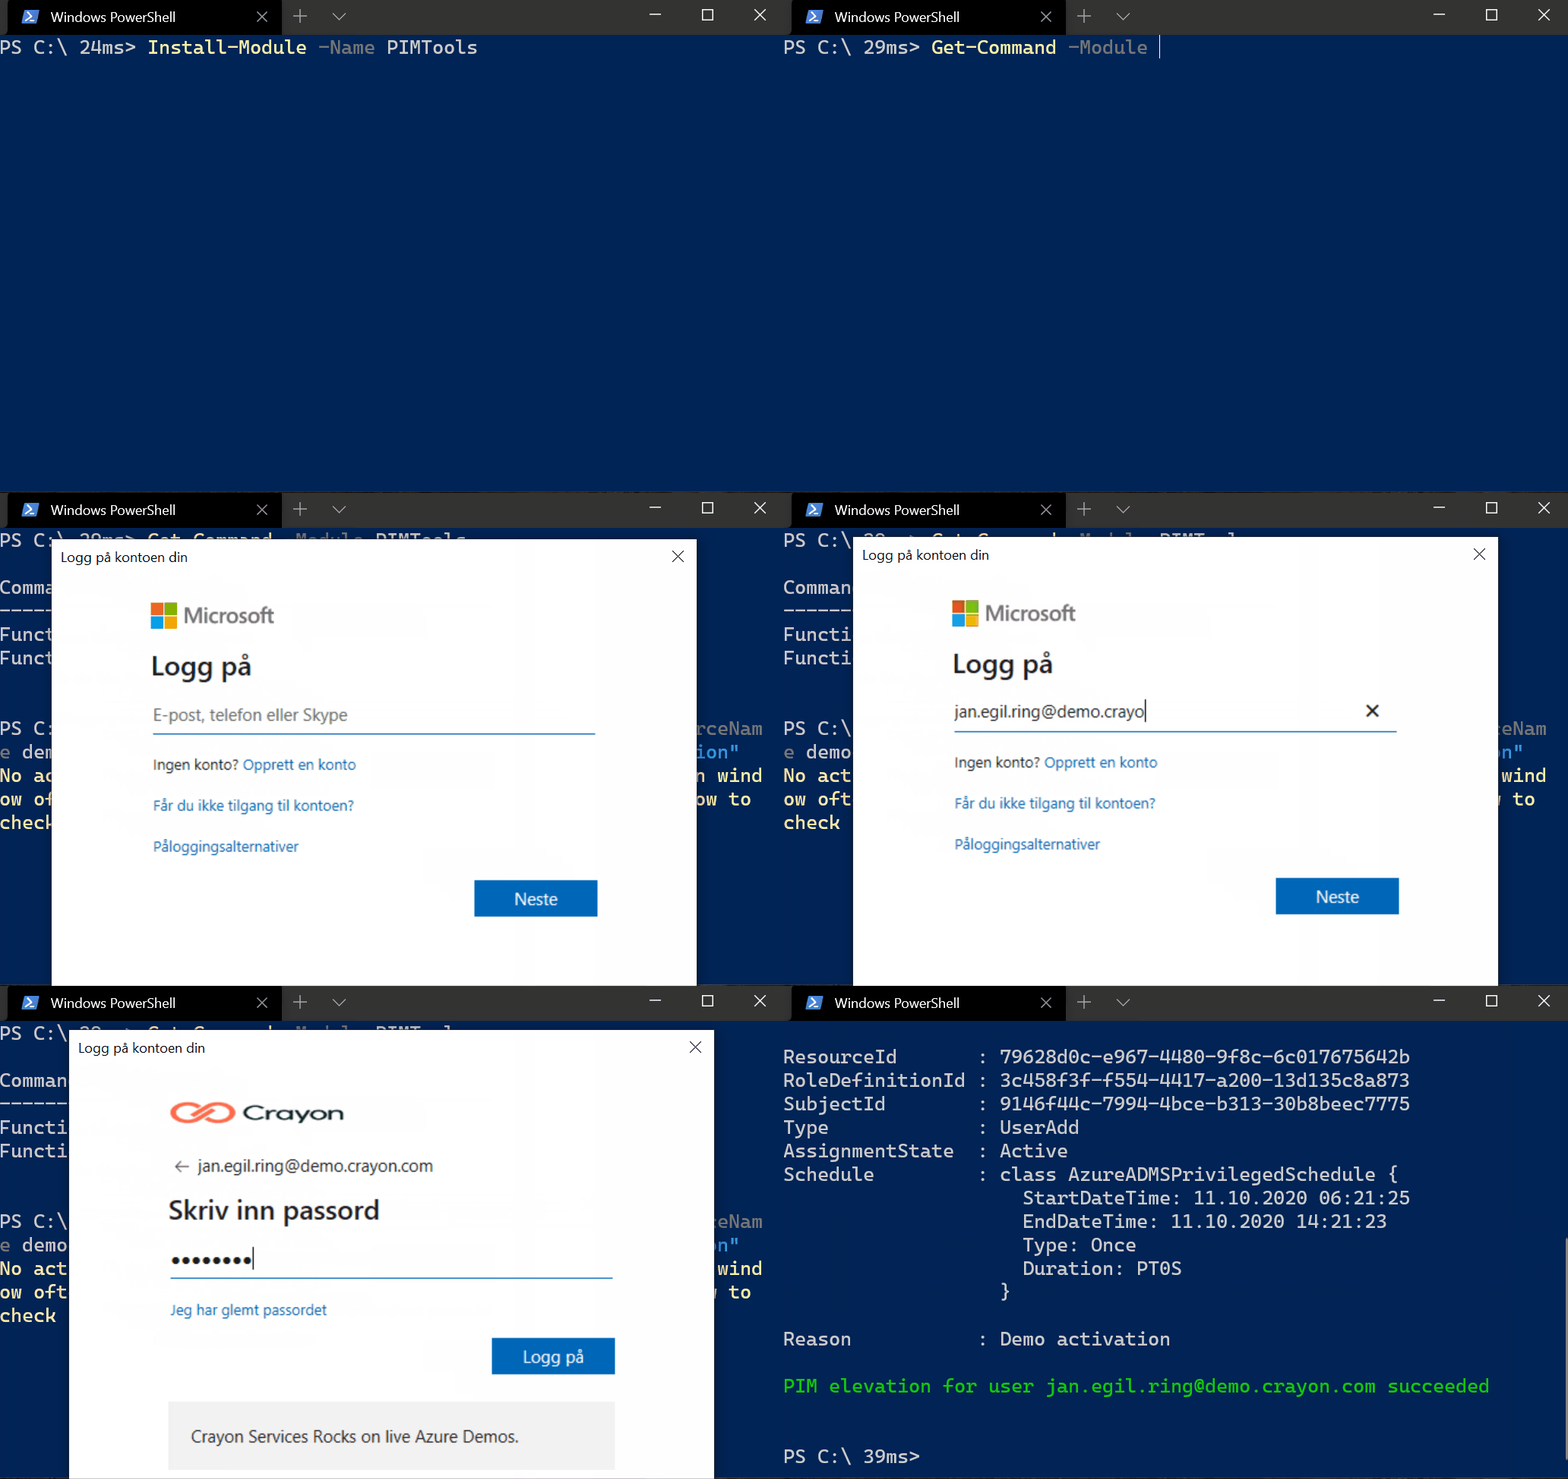
Install-Module -Name PIMTools -Scope CurrentUser
If this is the first time you run this command, you will be prompted to install NuGet which is being used under the hood to interact with the PowerShell Gallery. Answer Yes when prompted to install this prerequisite. Next, you will be warned that the PowerShell Gallery by default is configured as an untrusted source. Answer Yes to acknowledge this and install the module.
Now the module is installed and is ready to be used.
4 - Example usage
# Elevate an eligble Azure AD role
New-AzureADPIMRequest -RoleName 'Global Administrator'

# Elevate an eligble Azure role
New-AzurePIMRequest -RoleName Owner -ResourceName IT -ResourceType ManagementGroup

New-AzurePIMRequest -RoleName Contributor -ResourceName MySubscription -ResourceType Subscription

Note that you need to refresh any existing open browser sessions in order to refresh the access token with the elevated permissions.
After you have installed the module, you can later on run the following to get any new version which may contain bug fixes and new functionality:
Update-Module -Name PIMTools
If you encounter any problems, please submit an issue on the project’s GitHub page.
Remarks
-
When activating an Azure role, the IDs for resources and role defintions is used. In order for the PIMTools module to lookup these IDs based on the displayname of the roles (for example Owner or Contributor) and resources (for example a Management Group or subscription), the user calling the commands must have the Reader role for the roles they are trying to elevate to. This is not added by default in PIM, but is common (at least among the customers I work with) to grant Reader access to admin accounts - and require elevation using PIM in order to activate any other privileges. Hence, this is a prerequisite for activating Azure roles using PIMTools.
-
Per October 2020, the PowerShell commands to work with PIM is included only in the Public Preview release of Azure Active Directory PowerShell Module, hence this is a prerequisite you will be prompted to install if it is not present. When the PIM commands moves into the Generally Available Azure AD module, the prerequisite requirement will be updated. Another dependency is Windows PowerShell, due to the fact that the AzureAD module relies on the full .NET Framework and hence does not support PowerShell 6/7. Eventually the functionality in the AzureAD module is expected to be ported to the new Microsoft Graph PowerShell module, which is currently being developed and is available in preview. PIMTools will be updated to work with PowerShell 6/7 when PIM commands is available in the new Graph-based module. Until then, Windows PowerShell will be required.